How to Set Up HubSpot Analytics in WordPress (Step-by-Step Guide)
Are you looking to integrate HubSpot analytics into your WordPress site? Tracking visitor behavior and monitoring conversions is essential for making data-driven decisions that help grow your business.
Without proper analytics, you’re essentially operating blindly—missing out on key insights about your audience, marketing efforts, and conversion opportunities. Additionally, incorrect setup can lead to inaccurate data, which may result in poor business decisions.
In this guide, we’ll walk you through the process of setting up HubSpot analytics in WordPress. You’ll learn how to track important metrics, set up conversion goals, and integrate HubSpot with your CRM—all without needing to write any code.
—
Why Connect WordPress to HubSpot Analytics?
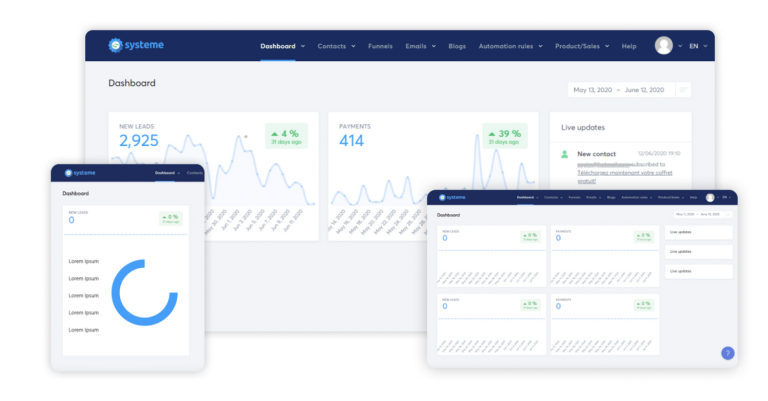
Whether you run a WordPress blog, an eCommerce store, or a service-based website, HubSpot’s analytics can provide valuable insights to help you make informed business decisions.
By connecting HubSpot to WordPress, you can:
– Track traffic sources, page views, and keyword rankings.
– Send leads directly to HubSpot CRM for better customer management.
– Monitor form submissions and reduce form abandonment.
– Optimize email campaigns for improved engagement.
– Use live chat to assist visitors in real time.
– Track sales and payments to refine your eCommerce strategy.
The best part? HubSpot seamlessly integrates with your existing analytics, giving you a complete picture of how users interact with your website.
💡 Pro Tip: While HubSpot Analytics is useful, we recommend using Google Analytics for a more comprehensive view of your website’s performance. You can easily integrate it with WordPress using MonsterInsights, which provides user-friendly reports, eCommerce tracking, and more.
—
Step 1: Sign Up for a HubSpot Account
To get started, you’ll need to create a HubSpot account:
1. Visit the HubSpot website and click “Get Started Free.”
2. Sign up using your email, Google account, Microsoft account, or Apple ID.
3. Provide basic business details, such as your company name and industry.
4. Follow the on-screen instructions to complete your account setup.
HubSpot offers a free plan with essential features like lead generation forms, web analytics, and live chat. Upgrading to a paid plan unlocks advanced marketing automation tools and removes HubSpot branding.
—
Step 2: Install and Activate the HubSpot WordPress Plugin
To track analytics on your WordPress site, you need to install the HubSpot All-In-One Marketing plugin, which automatically adds the necessary tracking code.
How to Install the Plugin:
1. Go to your WordPress dashboard and navigate to Plugins » Add New.
2. Search for HubSpot CRM and click Install Now.
3. Click Activate after installation.
This plugin will automatically add tracking codes to your site, allowing you to monitor user interactions, email engagement, and conversions.
—
Step 3: Manually Add the HubSpot Tracking Code (If Needed)
If you can’t install the HubSpot plugin due to conflicts or hosting restrictions, you can manually add the tracking code:
1. In your HubSpot dashboard, go to Settings (gear icon) » Tracking Code.
2. Click “Set up tracking by embedding code” and copy the provided tracking code.
3. Paste this code into your WordPress theme’s footer file or use the WPCode plugin to insert it safely.
💡 Recommended: Instead of modifying theme files, use WPCode, the best code snippet plugin, to insert the tracking code without risking site errors.
—
Step 4: Connect Your HubSpot Account to WordPress
Once the plugin is installed, you need to connect it to your HubSpot account:
1. In your WordPress dashboard, go to HubSpot » Connect Account.
2. Sign in with your HubSpot credentials.
3. Click “Connect Website” to complete the integration.
After connecting, you’ll see the HubSpot dashboard inside WordPress, where you can manage contacts, forms, and analytics.
—
Step 5: Explore HubSpot Analytics Features
Now that HubSpot is integrated with WordPress, you can track key performance metrics. Navigate to HubSpot » Reporting to access analytics reports.
Available Reports:
– Traffic & Engagement: Monitor page views, bounce rates, and visitor behavior.
– Form Submissions: Track how users interact with your forms and identify drop-off points.
– Live Chat Performance: Measure chat engagement and response times.
– Email Campaign Metrics: Analyze open rates, click-through rates, and conversions.
– eCommerce Analytics: