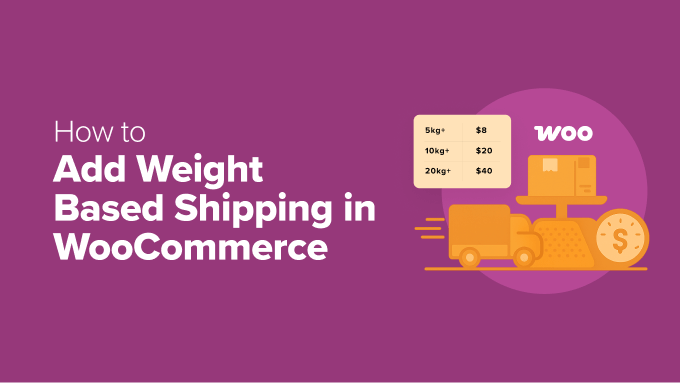
Unexpected shipping costs often lead to cart abandonment on WooCommerce stores. If your store’s shipping fees are high or unclear, you might be losing sales unknowingly. Offering straightforward, fair shipping rates is crucial, and weight-based shipping is a simple solution.
Weight-based shipping calculates costs according to the cart’s total weight. Lighter orders incur lower fees, while heavier ones are charged more accurately, allowing you to cover costs without deterring customers.
After testing WooCommerce’s features and third-party plugins, I’ve identified the best ways to implement this.
This guide will show you how to add weight-based shipping to your store, with practical tips to avoid pitfalls and ensure a smooth checkout. 🚚
Why Use Weight-Based Shipping in WooCommerce?
Weight-based shipping provides fair and accurate delivery costs by calculating rates based on the order’s actual weight. Unlike flat rate shipping, which charges a uniform fee, this method avoids overcharging lightweight items and losing money on heavier ones.
Switching to weight-based shipping in your WooCommerce store offers more control and flexibility, eliminating guesswork and surprises at checkout while keeping costs transparent.
It’s especially beneficial for stores selling heavy items, bundles, or a mix of lightweight and bulky products. Whether you’re shipping furniture, books, or gym equipment, this method helps you stay profitable while keeping shipping costs clear for customers.
Let’s explore how to easily add weight-based shipping in WooCommerce. I’ll cover two methods in this tutorial. Use the links below to jump to your preferred method:
Method 1: Add Weight-Based Shipping Using Default Settings (Basic Settings)
To set up weight-based shipping in WooCommerce without extra plugins or extensions, this method is for you. WooCommerce lacks a built-in weight-based option, but there’s a simple workaround.
Use shipping classes to group products by weight, then create different flat rates for each class within your shipping zones. Heavier items can have higher shipping costs, and lighter ones can ship for less, using WooCommerce’s default settings.
💡 Pro Tip: Before starting, set your preferred weight unit (e.g., kg, lbs, oz) for your store by navigating to WooCommerce » Settings » Products » General and selecting your unit from the ‘Weight unit’ dropdown menu. This ensures consistent calculations.
For more help configuring your store, follow our complete WooCommerce store setup guide.
To begin, visit the WooCommerce » Settings » Shipping » Classes page from the WordPress dashboard and click ‘Add shipping class.’
In the pop-up, name your shipping class clearly to quickly recognize the product type. For a class for items under 5 kg, you might name it ‘Under 5kg.’
Add a slug for the class or leave it blank for WooCommerce to generate one. Add a short note explaining the shipping class’s purpose for your reference or other admins. Click ‘Create.’
Repeat the process to add as many weight-based shipping classes as needed. Once done, it will look like this:
Next, go to the ‘Shipping Zones’ tab. You’ll see a list of all shipping zones set up for your store, representing the countries or regions where you offer shipping. If you haven’t added a shipping zone, click ‘Add zone.’
Name the zone after the region or country you’re shipping to, preventing confusion. Type the region or country’s name in the ‘Zone regions’ field, and click the option when it appears to add it to your zone. Add as many regions as needed.
Click ‘Add shipping method’ to proceed.
In the new popup, select ‘Flat rate’ and click ‘Continue.’
Name your shipping method, as customers will see it at checkout. A name like ‘Shipping Cost Based on Product Weight’ is clear and descriptive.
Add a default shipping cost in the ‘Cost’ field. This is the base shipping cost for products without a shipping class and can be added to other shipping fees.
Next, scroll to the ‘Shipping class costs’ section to set a cost for each weight-based shipping class.
⚠️ Important Note: WooCommerce adds the shipping class cost to the default flat rate. If the default cost is $5 and the class cost is $10, the total shipping fee is $15.
To avoid this and use only the shipping class cost, set the main ‘Cost’ field for the flat rate to $0.
Below the cost fields, you’ll see a ‘Calculation type’ setting, controlling how WooCommerce calculates shipping when a cart contains items from multiple classes.
Per Class: WooCommerce adds the cost for each individual shipping class. For example, a customer with an item from the 11–15 kg class ($10 fee) and another from the 16–20 kg class ($20 fee) will have a total added shipping cost of $30.
Per Order: WooCommerce applies the cost from the most expensive shipping class. Using the same example, only the $20 fee would be added.
For most stores using weight-based shipping, the ‘Per class’ option provides more


